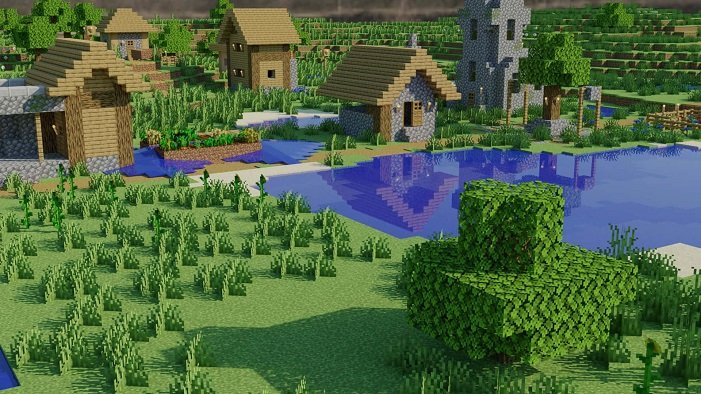
Minecraft: Bedrock Edition (2011) offers players a vast canvas for creativity, and customizing game icons and banners is an excellent way to personalize your gameplay. Whether you’re a seasoned player or just starting, mastering these features can significantly enhance your gaming experience.
Understanding Game Icons and Banners
Game Icons: Game icons serve as visual representations of your Minecraft worlds in the game menu. By default, Minecraft assigns a standard icon to each world, but creating a custom icon allows you to showcase your creativity and make your worlds easily identifiable.
Banners: Banners are decorative blocks that can be crafted and customized with various patterns and colors. They can be placed on walls, used as flags, or even combined with shields for personalized armor designs. Banners are not only decorative but also functional, serving as markers or symbols within your Minecraft world.
Creating Custom Game Icons
Custom game icons are a great way to personalize and differentiate your Minecraft worlds. Here’s how you can create and implement your own custom icons:
- Design Your Icon:
- Start by creating a 64×64 pixel image using an image editing software such as Photoshop, GIMP, or even simpler tools like Paint.
- The icon should represent something significant about your world, such as a landmark, building, or theme that best reflects your gameplay experience.
- Saving and Naming Your Icon:
- Once you’ve designed your icon, save it as a PNG file named “icon.png”.
- Place this file in the specific world folder within your Minecraft saves directory. This ensures that Minecraft recognizes and uses your custom icon for that particular world.
- Loading Your Custom Icon:
- Launch Minecraft and navigate to the world selection screen.
- Your custom icon should now appear next to the name of your world, providing a unique visual identifier. Know more about Minecraft (2009) game icons
Designing and Customizing Banners
Banners allow for even more creative expression within Minecraft. Follow these steps to craft and customize your own banners:
- Crafting a Banner:
- To craft a basic banner, you’ll need six pieces of wool and a stick. Arrange the wool in a 2×3 grid in a crafting table, leaving the bottom middle slot empty, and place the stick in that slot to complete the crafting process.
- The color of the wool determines the base color of your banner.
- Adding Patterns:
- Use a crafting station called a loom to add patterns and designs to your banner. The loom allows for more intricate customization compared to crafting directly on the crafting table.
- Place your banner in the loom and select from a variety of patterns and colors using dyes. Experiment with different combinations to achieve unique designs.
- Layering Patterns:
- Banners support layering of multiple patterns and colors, allowing you to create complex designs. Start with a base pattern and add layers to build up your desired look.
- Layering can create depth and detail in your banners, making them visually striking and unique.
- Using Banners in Your World:
- Once crafted and customized, banners can be placed on walls, fences, or used as flags.
- Use banners to mark important locations, designate team bases in multiplayer games, or simply add decorative elements to your builds.
Advanced Techniques and Tips
For those looking to take their banner designs to the next level, consider these advanced techniques:
- Special Banner Patterns:
- Certain items in Minecraft can be used to create special patterns on banners. For example, using an enchanted golden apple creates a Mojang logo pattern, while using a creeper head creates a creeper face pattern.
- Combine these special patterns with standard ones to create unique and recognizable designs.
- Combining and Connecting Banners:
- Place banners adjacent to each other on walls or other surfaces to create larger images or patterns.
- By carefully designing each banner, you can create a continuous picture or mural when they are placed together.
- Banner Shields:
- Combine a banner with a shield in the crafting table to apply the banner’s pattern to the shield.
- This not only customizes your shield but also allows you to display your banner design in a functional way during combat or exploration.
Why Customize?
Customizing game icons and banners in Minecraft offers several benefits beyond aesthetic appeal:
- Personalization:
- Custom icons and banners reflect your personal style and creativity, making your Minecraft worlds uniquely yours.
- They can evoke specific memories or themes associated with your gameplay experience.
- Organization and Navigation:
- Custom icons help you quickly identify and navigate through your various Minecraft worlds, especially if you have multiple saved games.
- Banners can serve as markers or waypoints within your world, making it easier to locate important areas or structures.
- Creative Expression and Community Engagement:
- Designing and sharing custom icons and banners allows you to express your creativity and showcase your designs to the Minecraft community.
- It fosters community engagement and inspires others to create and share their own unique designs.
Conclusion
Mastering the art of creating game icons and banners in Minecraft: Bedrock Edition (2011) is not only a fun creative endeavor but also enhances your overall gaming experience. Whether you’re designing a custom icon to represent your world or crafting elaborate banners to decorate your builds, these customization features allow you to leave a personal mark on your Minecraft adventures.