If you’re like me, seeing that check engine light pop up on your dashboard can be frustrating. Over the years, I’ve learned a few quick methods to reset it and get rid of the stress.
Whether you’ve already fixed the issue or just want to turn the light off temporarily, I’ve got you covered. Let’s dive into my tried-and-true ways of resetting the check engine light!
Table of Contents
ToggleWhy Does the Check Engine Light Come On?
First things first: the check engine light comes on when your car’s onboard computer detects a problem. It could be something simple, like a loose gas cap (trust me, it happens!), or something more complex like a sensor malfunction.
Before you reset it, make sure to check what’s causing the light. Once you’ve figured that out and resolved it, then you can safely reset the light.
My Go-To Methods for Resetting the Check Engine Light
Over the years, I’ve found several ways to reset the check engine light depending on the situation. Here are the four methods I’ve personally used.
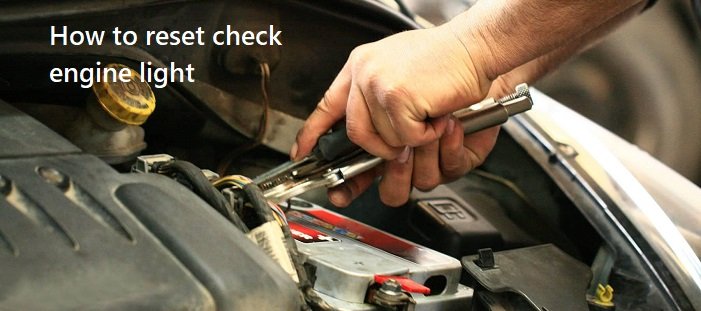
1. Using an OBD-II Scanner (My Favorite Method)
This is hands down the easiest and most accurate way to reset the check engine light. If you don’t have an OBD-II scanner, I highly recommend investing in one—it’s saved me so much time!
Here’s what you do:
- Plug the OBD-II scanner into your car’s diagnostic port (it’s usually under the dashboard).
- Turn the ignition to the “on” position without starting the engine.
- Use the scanner to read and clear any error codes.
- Once cleared, the check engine light should turn off.
This method not only resets the light but also tells you what caused it in the first place. Win-win!
2. Disconnect the Car Battery (The Classic Method)
Before I had an OBD-II scanner, I used to reset the check engine light by disconnecting the battery. It’s an old-school trick, but it works. Just remember, this method will also reset other settings in your car, like the clock and radio presets.
Steps:
- Turn off the car and pop open the hood.
- Use a wrench to disconnect the negative battery terminal.
- Wait about 10-15 minutes to let the system reset.
- Reconnect the battery and start your car.
Once you’ve reconnected the battery, the check engine light should be gone. This method works in a pinch, but it’s not as precise as the OBD-II scanner.
3. Let It Turn Off on Its Own (Patience Pays Off)
This method works best for minor issues like a loose gas cap. Sometimes, the check engine light will turn off automatically after a few driving cycles if the issue has been resolved. I’ve had this happen a few times after tightening my gas cap.
What to do:
- Make sure you’ve fixed the issue (tighten the gas cap, etc.).
- Drive your car normally for a few days or about 30-50 miles.
If the light was triggered by a minor issue, it should turn off by itself. If not, it might be time to try one of the other methods.
4. Turn the Ignition On and Off (Quick Fix)
This is a simple method that doesn’t require any tools. It’s worked for me on older cars, but it might not work on every vehicle.
How it works:
- Turn the key to the “on” position (but don’t start the engine).
- Turn it off, then repeat this process three times.
- On the third time, start the car.
Sometimes, this forces the car’s computer to reset the check engine light. It’s not foolproof, but it’s worth trying if you’re in a pinch.
When to See a Mechanic
While resetting the check engine light can be a quick fix, it’s important to address the underlying issue first. If the light keeps coming back or you’re not sure what’s causing it, it’s probably best to see a professional. Trust me, ignoring a serious issue can cost you way more down the road.
Read More:
Blue German Shepherd: The Rare Beauty Every Dog Lover Needs to Know About
Conclusion
Resetting the check engine light doesn’t have to be complicated. Whether you’re using an OBD-II scanner, disconnecting the battery, or simply letting the light turn off on its own, there are plenty of ways to get rid of that pesky light. Just remember, always fix the root cause first!
Have any other methods that worked for you? Feel free to share your tips or ask questions in the comments!